User Manual
On this page
Media Library
Xibo supports a wide variety of media types, from Widgets which are created and stored directly on Layouts and Playlists to file-based media that is uploaded and stored in the CMS Library which can then be reused across multiple Layouts and Playlists.

Manage all file based media by selecting Media under the Library section of the main CMS menu.
Use the buttons on the right hand side of the grid to switch between a grid or thumbnail view:
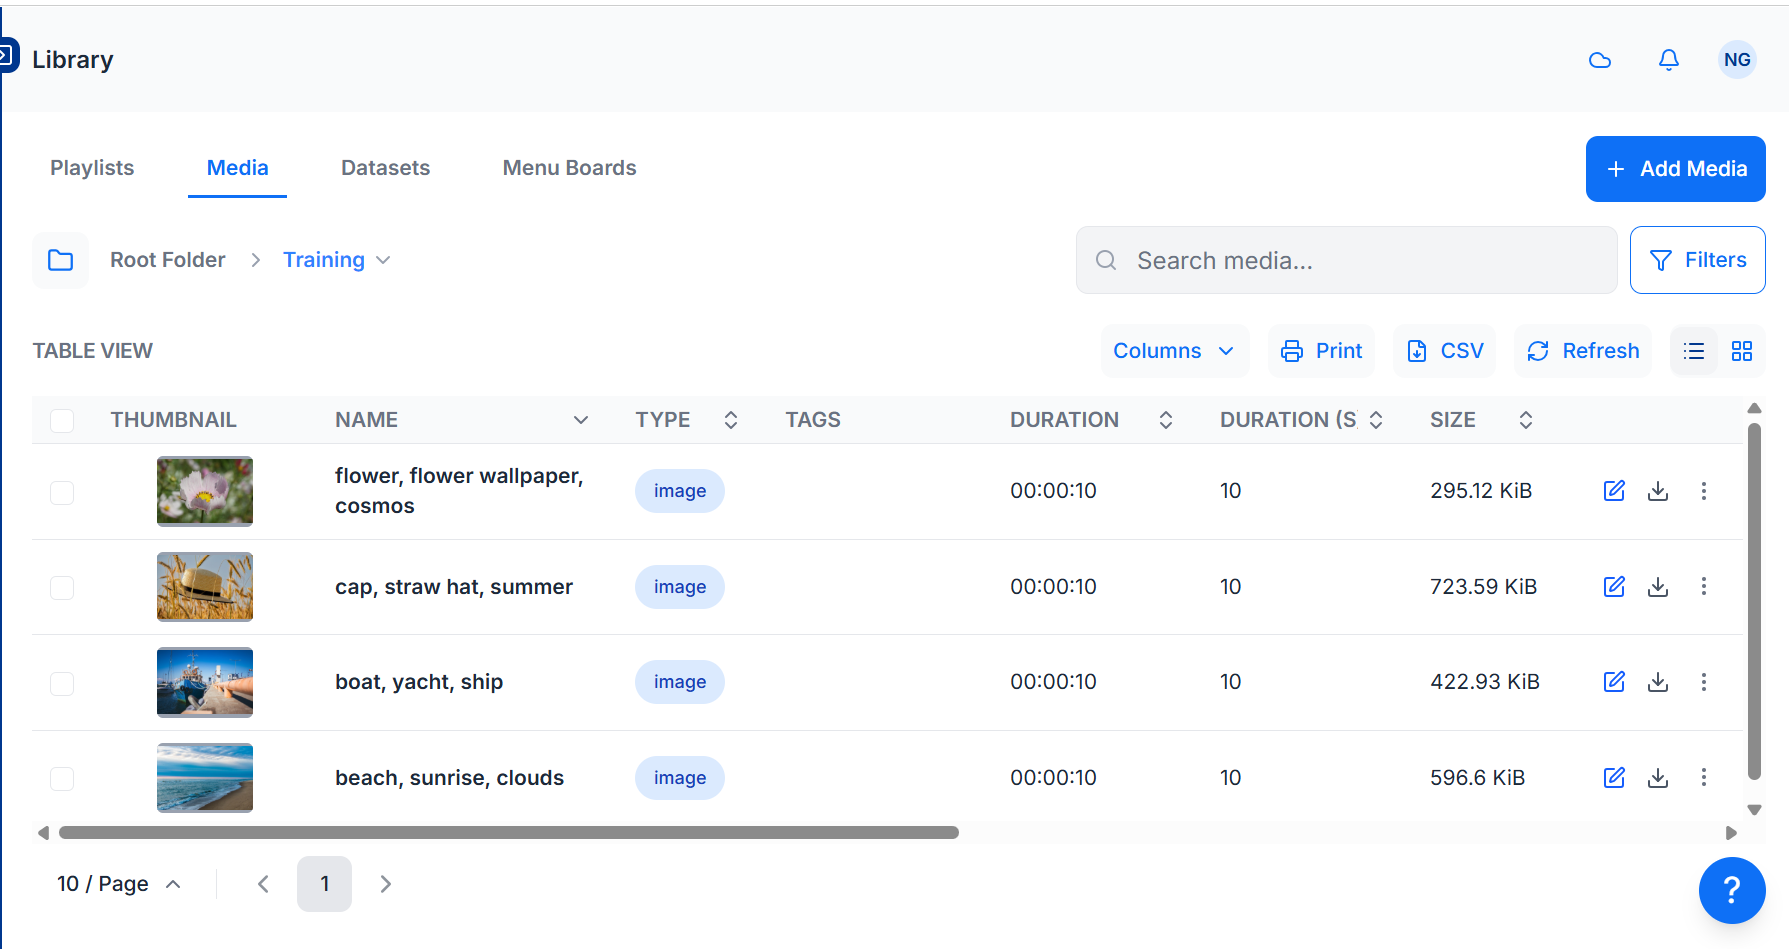
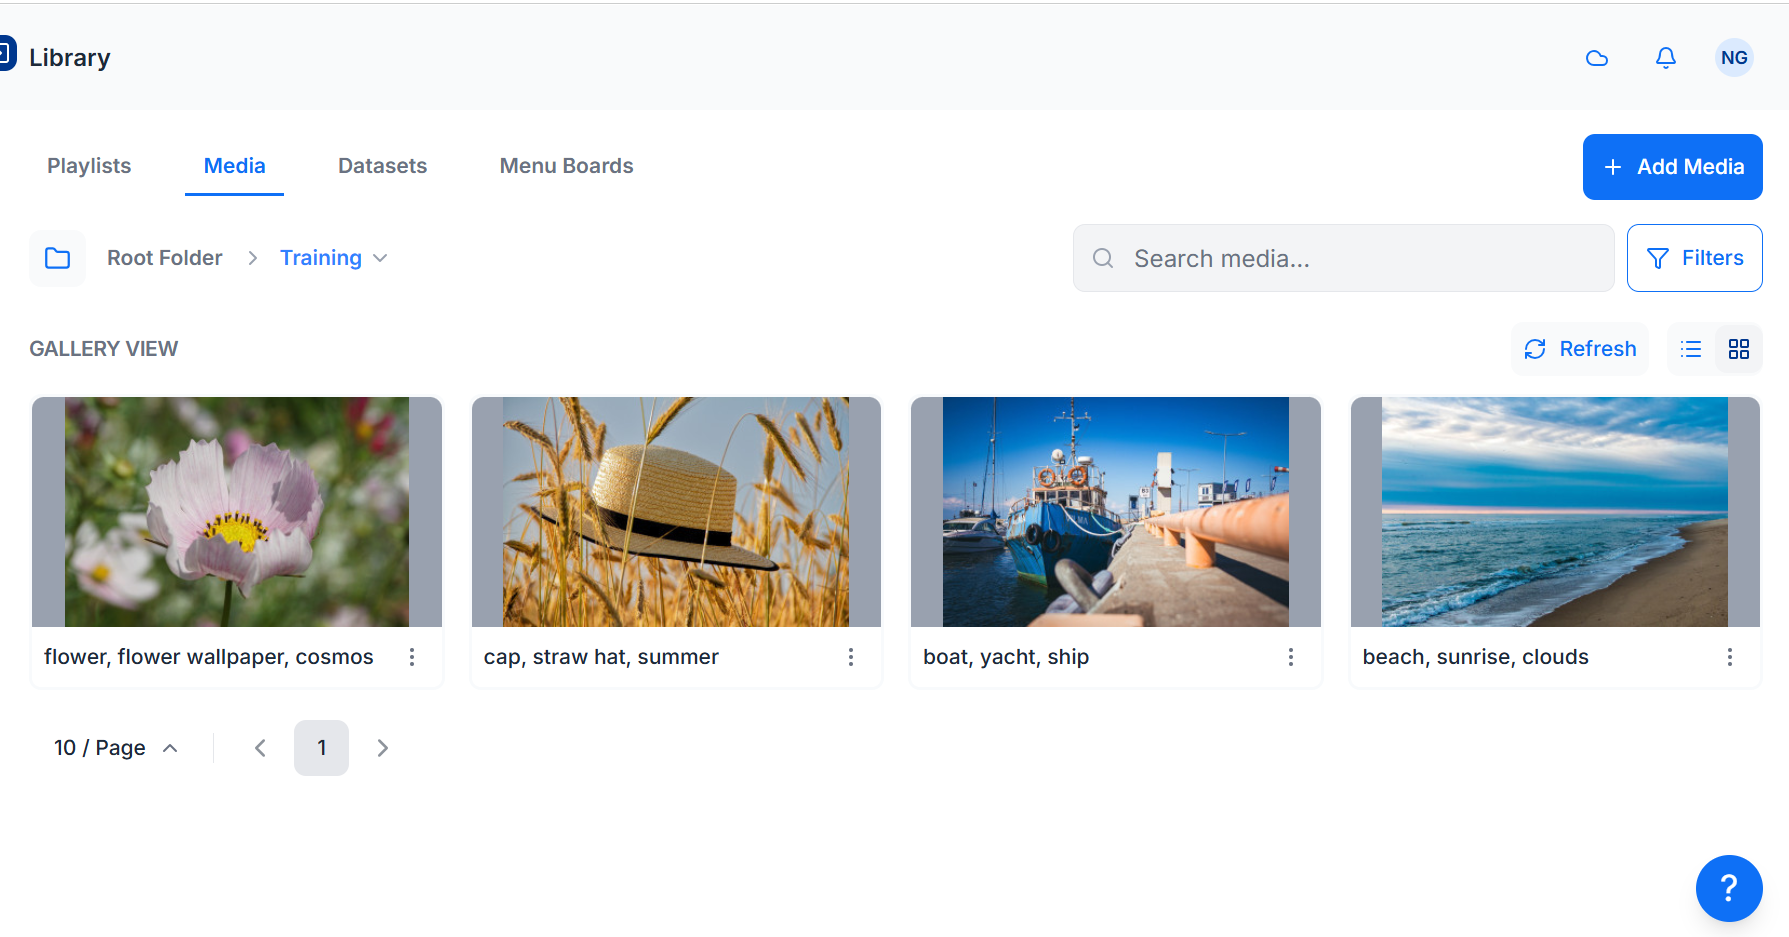
Use the Filters button to apply filters to restrict criteria for returned results.
Images and Videos that have a set thumbnail can also be filtered by Orientation once set:
-
Use the row menu for the item and select Edit for an Image/Video file
-
Scroll down to the bottom of the form and set the intended Orientation

Adding Library Media
Library media is added using the Add Media button to either drag and drop files, using Select Files to upload or by providing a URL.
Files added to the CMS Library can be easily added to Layouts and Playlists using a Library Search
Add Media
-
Select the Add Media button
-
Use the drop down to select an alternative folder location if required
-
Drag and drop files or click Select Files or provide the remote URL for the file
-
Files will start automatically uploading
-
Files can be re-named or leave blank to keep the original file naming
-
Click Done once added and the files will continue to upload in the background
Default thresholds and limits can be specified which are then considered in the event an Image should be resized when uploading an image for example. Further information can be found in CMS Settings.
Row Menu
Each item in the Library has a row menu where Users can access a list of actions/shortcuts
Edit
Select Edit to make changes to Folder locations, Durations and Tags and other settings.
- Notable settings are listed below:
Expiry Dates
Set an Expiry Date for Library Media to remove the file from any Layouts/Playlists it has been used on.
Retire Media
Ticking Retire this Media will keep the media file assigned to any existing Layouts/Playlists but will not be made available for further selection to add to Layouts/Playlists.
Enable Media Stats Collection
- Set the collection of Proof of Play statistics to On / Off / Inherit for the selected media file.
Update Media
Use the check box Update this Media in all Layouts it is assigned to so that any edits are reflected in Layouts/Playlists that this media file is currently assigned to.
Replace File
It may be necessary to upload a new revision of an existing file:
-
Click Select File and choose the media file to replace the existing
-
Optionally select to:
- Delete the old file version completely from the CMS
- Update the replacement file to all Layouts/Playlists it is currently assigned to.
Delete
Media files can only be deleted from the CMS if they are not being used on any existing Layouts/Playlists.
- Tick in the box to enable a hard push using XMDS to completely remove the file from a Players local storage.
Usage Report
This will show if the selected media file is directly assigned/scheduled to Displays.
- Use the Layout tab to see what Layouts the media file is currently included in.
Schedule
Image and Video Library media files can be directly Scheduled to a Display as full screen content from the row menu.
Tidy Library
As the CMS is used and Layouts/Playlists and Media are added, over time the Library can become cluttered with old content that is no longer in use.
The Library can be tidied by a User or Super Administrator so that it is kept clean and small. Actions cannot be reversed so this must be used with caution.
There are two places where the Library can be tidied:
- From CMS Settings, General section - available to all Super Administrators only.
- From the Library - for all Users when Enable Library Tidy is ticked.

Once enabled Users can click on a Tidy Library button located at the top of the Library page.
The form will show the number of files that will be deleted and how much space those files take up.