Geo Scheduling
Docs
Getting Started
Layouts
Media
Modules
Scheduling
Displays
Users
Configuration and Organisation
Troubleshooting
- Modules
- Connectors
- Audio
- Calendar
- Clock
- Countdown
- Currencies
- Dashboard
- DataSet
- Embedded
- Emergency Alert
- Flash
- Google Traffic
- HLS
- HTML Package
- Image
- Local Video
- Mastodon
- Menu Board Category
- Menu Board Products
- National Weather Service
- Notifications
- PowerPoint
- Shell Command
- Stocks
- Ticker
- Video
- Video In
- Weather
- Webpage
- World Clock
On this page
Geo Scheduling
Scheduled Events can be configured to be location aware with locations displayed on a map view.
Define Location
- From the Add/Edit Event form, click on the Optional tab and select the Geo Location tab
- Tick in the Geo Schedule box to enable and define the location
- Use the buttons in the top left of the map to Zoom in and out
- Click on the search icon to enter details for a particular area
On opening, the map will default to what is entered for DEFAULT_LAT and DEFAULT_LONG in CMS Settings, under the Displays tab.

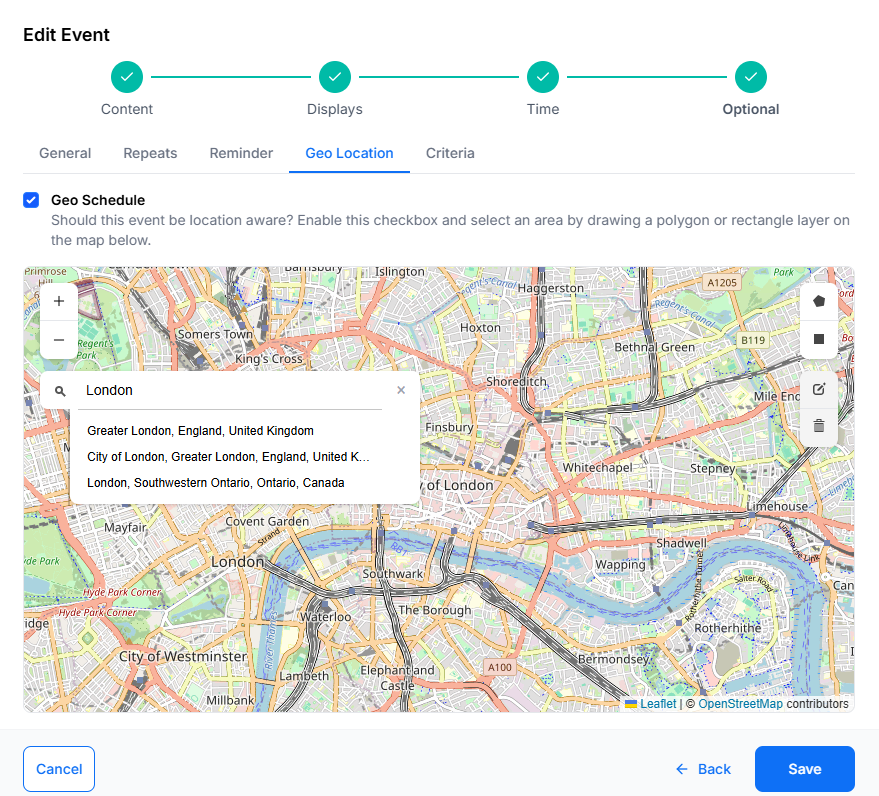
- Define an area by drawing a Polygon or Rectangle layer on the map.
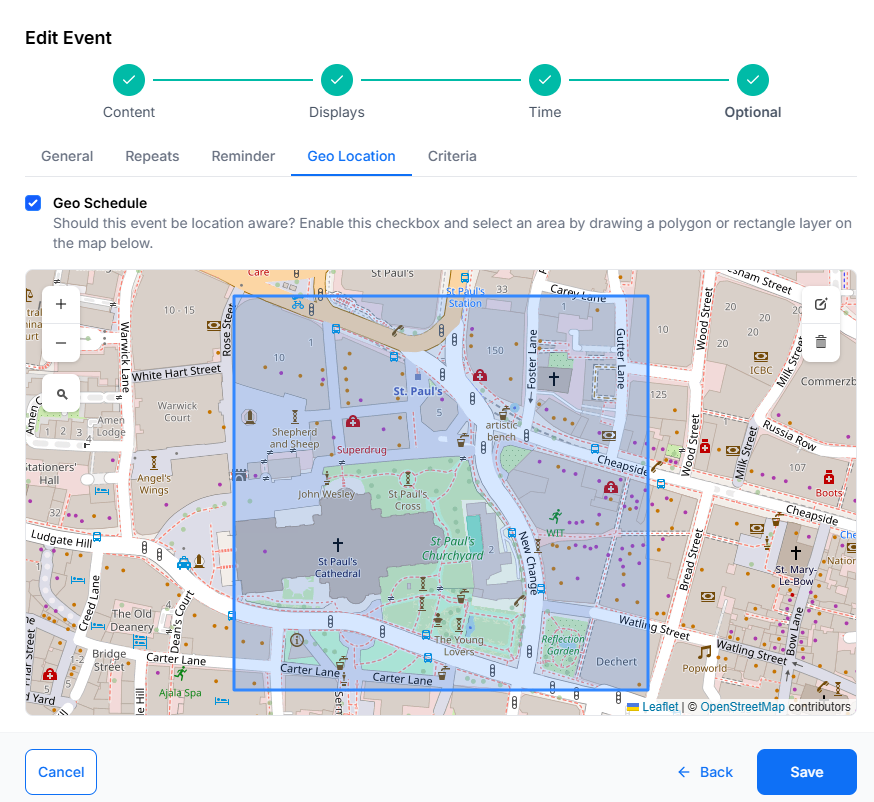
Edit
- Once an area has been defined, click on the edit icon, at the top right of the map, to to drag the markers to make adjustments to the existing Layer.
- Click on the grey Save button located here to ensure that edits are saved.
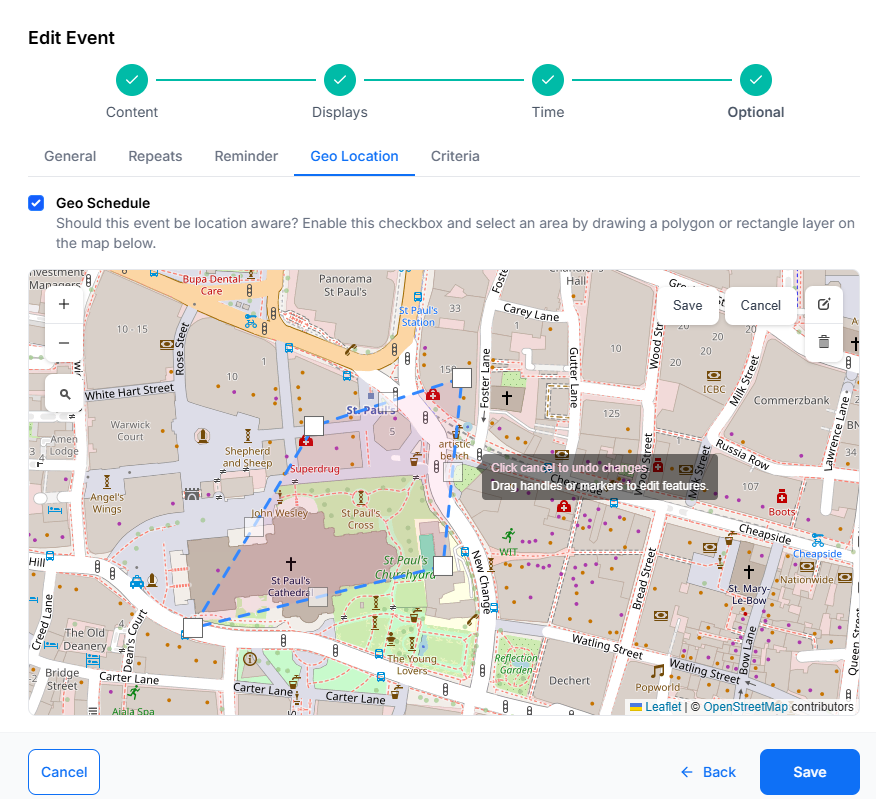
Delete
- To remove the area, use the bin icon and click into the area to delete
- Click the grey Save button to save the removal of the layer.
Edit this schedule by clicking the icon in the Calendar or by using the row menu in the Grid view!